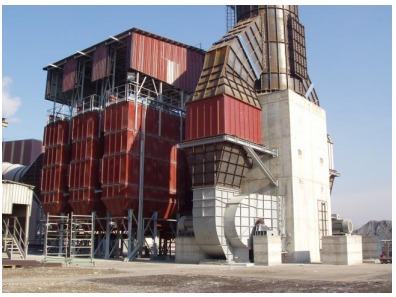
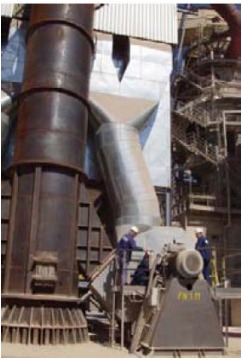
20. Aeraulic check list at new fan start-up
During new fan installation and after mechanical check (please see our maintenance and user manual), it is necessary to ensure few “Aeraulic
precautions” at commissioning.
1. Precautions for starting a fan without variable speed drive:
- For a fan operating at ambient temperature: close the circuit at starting, by using a damper or any other tool, then open it gradually to avoid motor overloading, in case the real circuit is more “opened” (meaning less resistive) than the calculated circuit.
Explanation: Actually, in this case, the fan will produce more air flow than expected and generally an increased electrical absorbed power. - If the gas temperature value at starting is lower than the nominal temperature, close the circuit at starting, by using a damper or any other tool. Then open it gradually during the temperature rising in order to avoid motor overloading.
Explanation: Actually, at lower temperature than nominal one, the fan is able to produce a higher pressure (multiplied by the ratio densities) and consequently a higher absorbed power (multiplied by the same ratio densities for the pressure). - Adjust thermal protective relay temporization in order to give enough delay to the motor in order to overcome the impeller inertia. Refer to the fan manufacturer for the correct motor sizing related to impeller inertia and the appropriate starting delay.
Explanation: Actually, the starting current peak, specification of all electrical motors, will take a time related to inertia value. This involves a heating to be managed by the thermal protective relay temporization.
N.B : Using a Star Delta Starter helps to restrain the starting current peak but will be helpless to restrict the global heating, because the current limitation will be compensated by a longer starting time.
2.If absorbed current is too high at the nominal speed:
Check that the belts are rightly tensioned
- Check the fan’s speed If it doesn’t match the expected value, then check:
- The pulleys diameter related to
- The speed indicated on motor nameplate
- Ensure a free rotation of rotational parts
- Ensure the right rotational direction of the fan
- Control the inclination of the blades in regards to rotational direction and confirm by manufacturer that it is right fit.
- Check correct electrical coupling in the motor terminal box.
- Control the electrical power supply
- Check that Aeraulic circuit is not too opened (please refer 1a). In this case, manage an artificial pressure loss or change the speed by adapting the pulley or install a variable frequency drive.
- Check the gas temperature is not lower than expected (please refer to 1b)
3.If the flow rate is not achieved
- Check the tip clearance between housing and impeller
- Check the rotational direction of the fan and its speed
- Measure the static pressure difference between upstream and downstream of the fan, add the pressure losses between fan and measurement points. If the calculated value is average matching the curves at this specific flow rate, that means that the fan is operating on a circuit more resistive than expected.
- Check the speed of the fan.
4.If the flow rate seems operating ups & downs
Check that the fan is not operating in the “stall zone” on the curve. (please refer to our article “Stall” on
www.airvision.be, technical info; other technical articles are available on our website. )